Block Paved Drive
When I was looking for a house to buy it needed to have off street parking or the ability to convert the front garden to hard standing. I like to be able to park close to my front door.
My immediate neighbours are very good and would always leave a space in front of my house, unfortunately other people would often park there,
so the solution was to convert the garden.
I considered many different methods of surfacing (concrete, tarmac, paving slabs and block paving) and decided on block paving because this is what people like
(when I come to sell), I can do it myself and the cost is reasonable. The requirements were for an area as flat as possible to park the car. It must be flat side to side.
I also wanted the drive to be quite low so a car parked on there was not too much of an eye sore, especially for my neighbours.
As with most things I did not know what to do so started gathering information and talking to people. One of the best sources of information is the catalogues
that show what block pavers are available. They all have a section at the back describing how to fit and use their products.
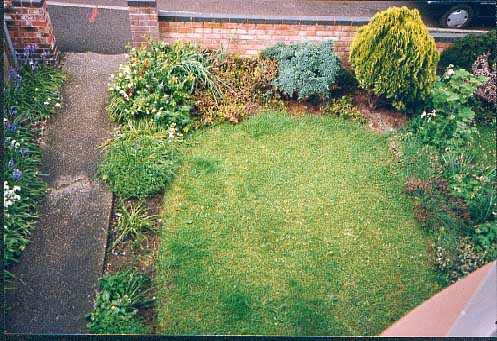
The front garden before I started.
-----------------------------------------------------------------
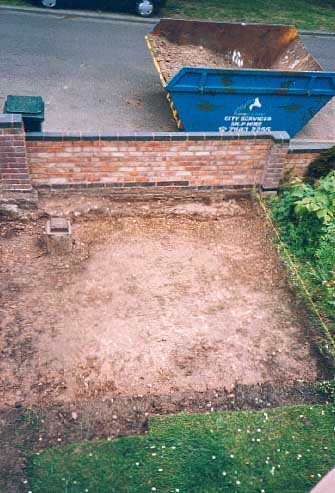
I hired a skip to take away the soil I dug out.
-----------------------------------------------------------------

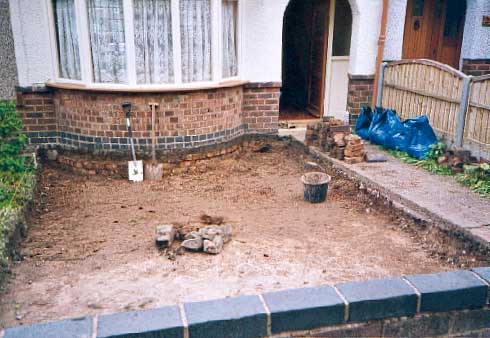
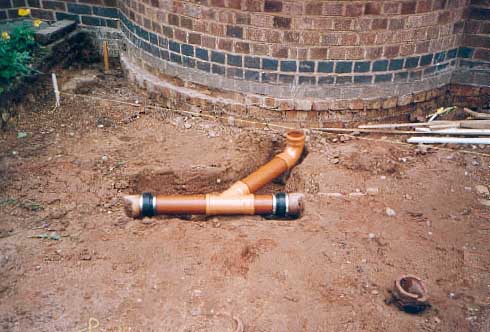
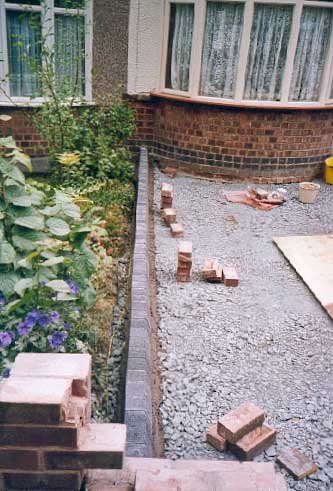
I had to dig out quite a lot of soil because I needed to put in a sub base (hardcore), sand and
then the pavers. The round pipe sticking up near the wall is where the water stop cock is located.
-----------------------------------------------------------------
The black bricks on the house are the damp proof course and the drive must be below
that level. Also I did not want the drive too high as when a car was parked I
did not want to look out of my window at an exhaust pipe or bumper.
------------------------------------------------
While I had the garden dug up I decided to replace the lead water pipe with blue plastic.
Also the stop cock was in my garden and seized, I could not turn the water off. I explained
to the water authority that their stop cock was seized and would be below a block paved drive.
They are responsible for the pipe work to the stop cock and prefer the cock in the pavement so everything
under my garden is my responsibility. They agreed to move it to the pavement and while they were on
would fit a tapping for a water meter. Normally if you want a water meter in the road it costs extra.
-----------------------------------------------------------------
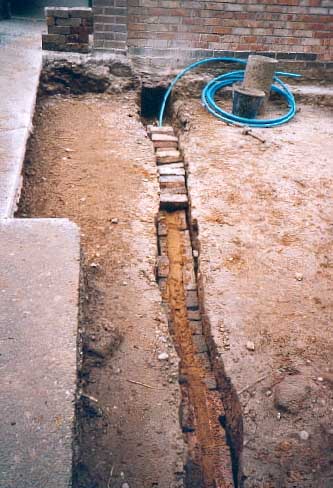
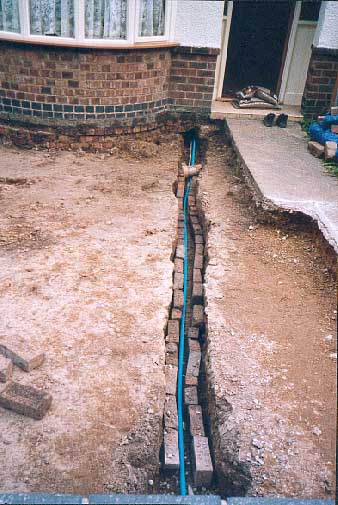
I layed the blue pipe along side the lead then built a brick trench and filled it with sand and capped it with bricks.
-----------------------------------------------------------------
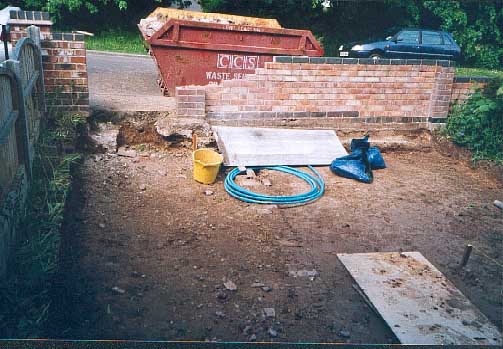
One skip wasn't`t enough so I had to get another. All digging was by hand and the soil
moved initially with a wheel barrow and then buckets. I stamped the soil down in the skip
to compact it so I could get more in.
-----------------------------------------------------------------
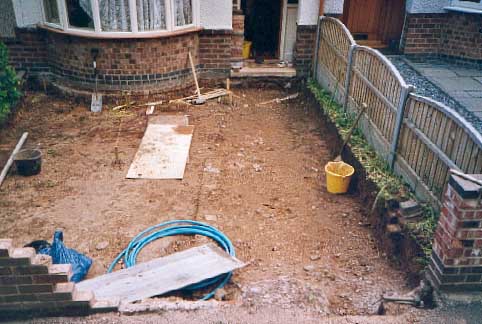
Here the digging is nearly done.
-----------------------------------------------------------------
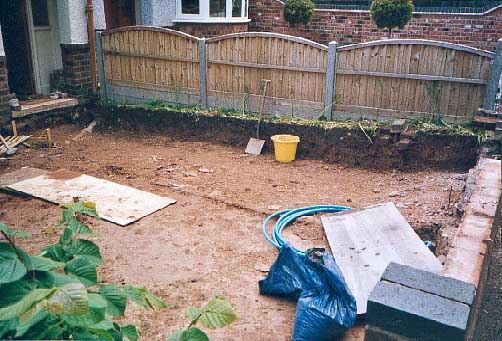
I had to be careful not to disturb the fence.
-----------------------------------------------------------------
The drive needed a drain. Fortunately there is a drain near the house that looks after the
water from the gutters. It was easy to add a branch.
-----------------------------------------------------------------
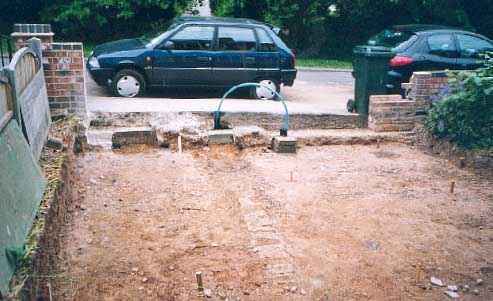
Sorting out the levels of the drive was awkward. The road outside the house slopes downhill
(left to right), the road has a crown and dips down to the pavement and I wanted my drive low.
The new pavement must slope from my boundary to the road so water will not run down the road and into my drive.
I worked out a good solution.
-----------------------------------------------------------------
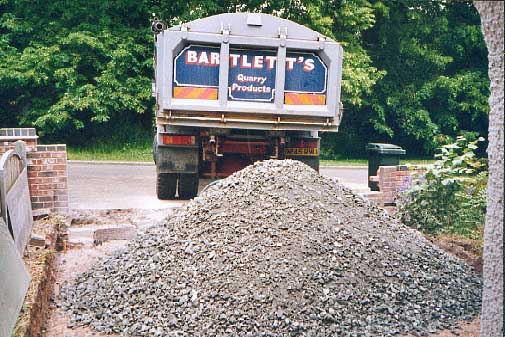
Once the digging was done I needed a good solid sub base. This is 10.5 tonnes of
sub base. I intend to have 200mm depth.
-----------------------------------------------------------------
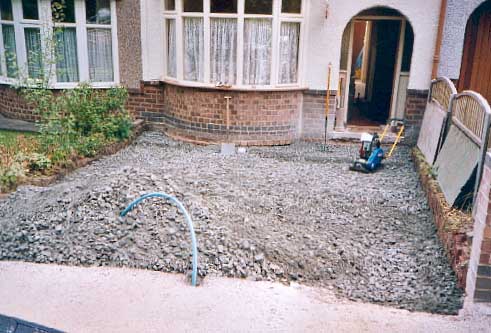
The sub base was spread around by hand using a shovel.
-----------------------------------------------------------------

I hired a compactor and would spread some and compact it then spread some more.
-----------------------------------------------------------------
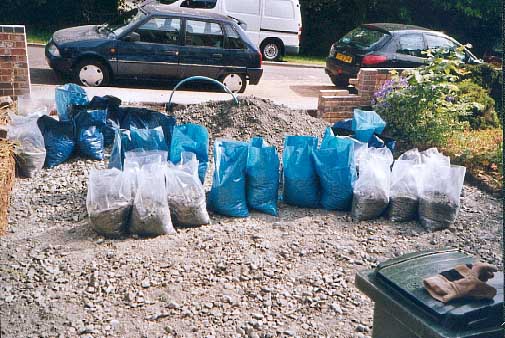
I had too much so this was bagged up and carried through the house to be stored for future use.
-----------------------------------------------------------------
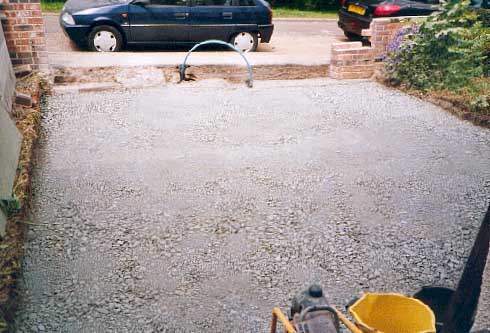
This is the finished sub base. I spent hours compacting it. The water pipe is not yet
connected.
-----------------------------------------------------------------
Looking towards the house. The end of the water pipe is in a receiver for a security post
just to keep it safe.
-----------------------------------------------------------------
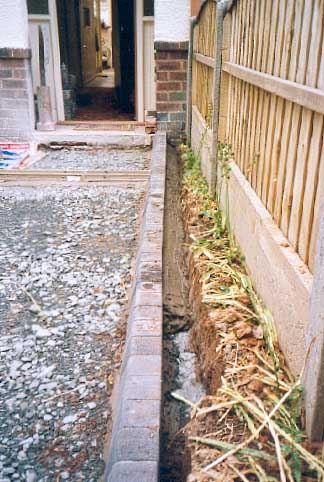
The next job was to put in the edge curb stones. These are bedded onto cement.
The curb stones are expensive but I think the really finish off the job.
-----------------------------------------------------------------
The curb stones. Note how they do not go up to my border. This means I can have a small
strip of garden to finish things off.
-----------------------------------------------------------------
The curb stones are then supported with concrete. As always the concrete is mixed by hand.
-----------------------------------------------------------------
The drain in front of the house. This was cemented into position and carefully
done so it slopes very slightly to the outlet.
-----------------------------------------------------------------
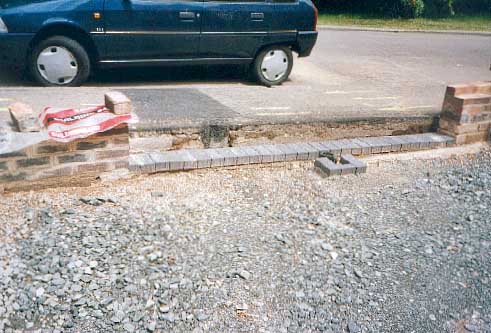
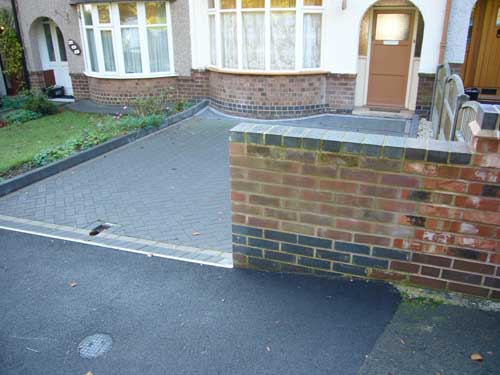
The council will only drop the curb over 3 curb stones (unless I pay more) so I had to build
new walls. This was my first attempt at laying bricks. The entrance is offset as this makes the levels
better for me.
-----------------------------------------------------------------
These are the edging stones for the new pavement and the security post receiver.
However I would have to change these later..........
-----------------------------------------------------------------
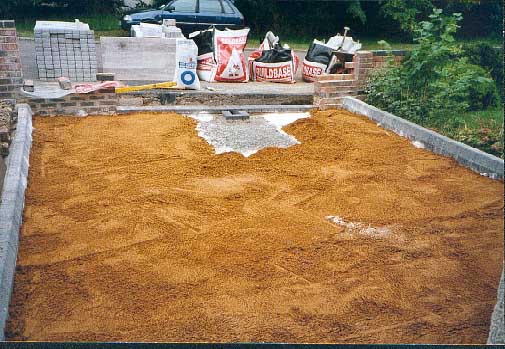
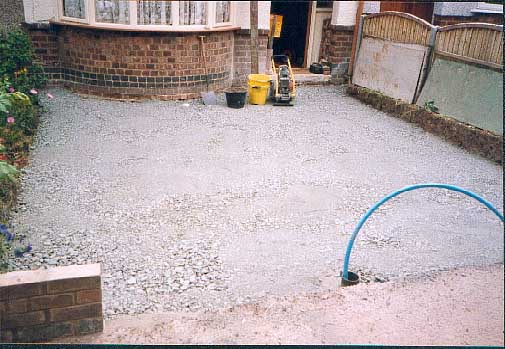
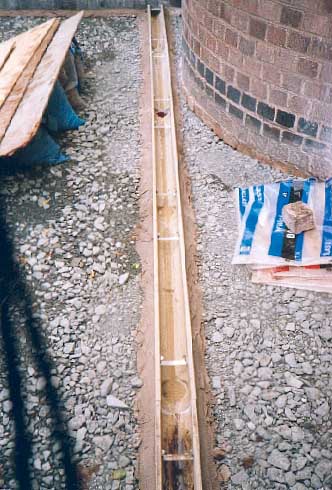
Friday PM. Next a base of sand is spread out.
-----------------------------------------------------------------

This is the most critical job of the whole drive. It must be flat and consistent without hollows or peaks.
-----------------------------------------------------------------
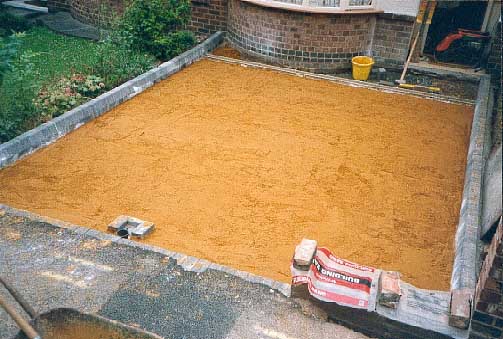
The sand is leveled and compacted. I spent hours getting the sand flat and sloping
just how I wanted it.
-----------------------------------------------------------------
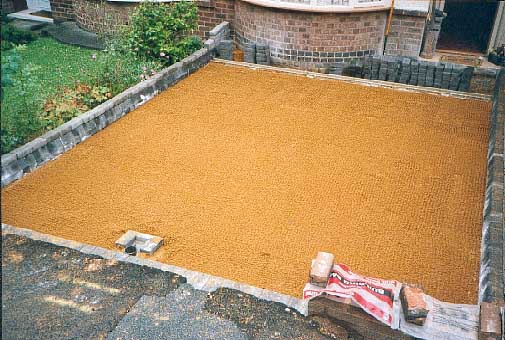
Sat PM. The top layer of the sand is broken up. I dragged a rake over the surface to loosen it.
The height of the sand is critical as once the pavers are on they have to match the height of the drain
and the edging pavers by the pavement and the security post.
-----------------------------------------------------------------
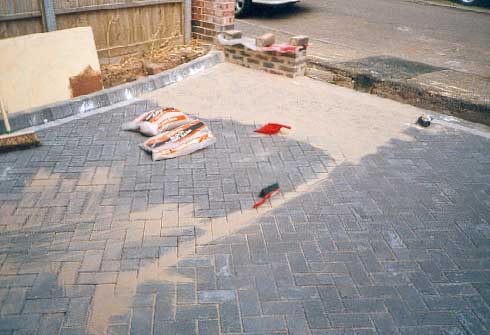
Sunday PM. Laying the pavers was easy once I got started. I ensured each one was tapped up close
to the ones around it. Once done kiln dryed sand is brushed
into the gaps between each
block. The pavers have little ridges so even though they are touching there is still a gap.
-----------------------------------------------------------------
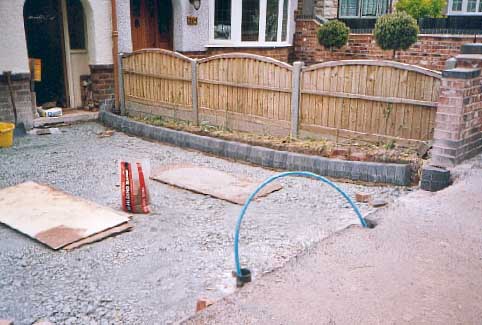
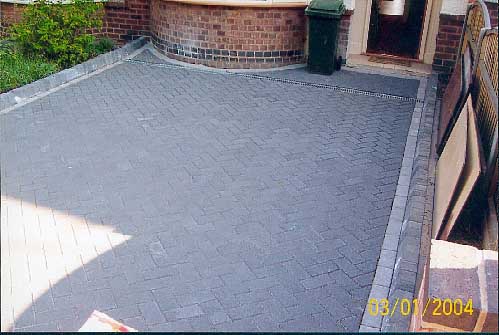
This is the finished drive. Cutting all the small corner pieces was difficult as the cutter I hired did not make clean cuts.
You can see here that the line of blocks nearest the pavement have now been angled upwards.
The Council Problem
I had big problems with the council getting them to modify the pavement to how I wanted it. The criteria was that
the pavement would slope up hill from the road to my boundary so water running down the road would not run
into my drive. So I designed the edge of my drive at the boundary to be above the road height However
this was not suitable for the council as they said they would not alter the pavement height at my boundary.
They would only drop the pavement at the road side. This obviously caused me a big problem as it would mean
completely redoing my drive. The very annoying point was that the council would not listen to any common sense,
"This is the way we do it and no other way". Their argument was that when walking along the pavement if it dropped
at my boundary as well as the road it would be dangerous. I argued that if it only dropped on one side it was more
dangerous as it is harder to walk on a cambered surface than a straight up and down. However they were not interested.
I was annoyed because I had seen pavements with greater change in slope than I was proposing.
So I had to get clever. I was sure that there must be actual rules and recommendations for slopes of pavements,
and change in gradients. So after much internet use, telephone calls, requests from friends I found what I
needed. My local council had recommendations specifically for disabled access. This was a maximum gradient from
absolute and not a change in slope. As the road and pavement outside my house was on a slope the actual
gradient of the pavement (on the upside) would have exceeded this (doing it the way the council wanted).
However my way was in the councils recommendations! Now the council department doing my pavement would
listen when I pointed out they were proposing to do actually went against their own councils recommendations.
The compromise was for me to angle the edge pavers upwards at the boundary. I did this but they still were not happy.
I nearly lost it at this stage and got very angry. They wanted a square vertical edge to tarmac to and as my pavers
were now angled this did not present a vertical edge!!. So I added a piece of stainless angle along the edge.
-----------------------------------------------------------------
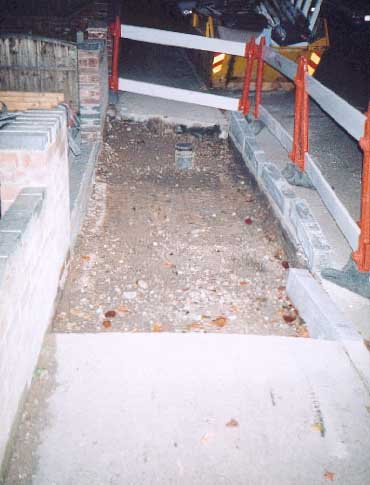
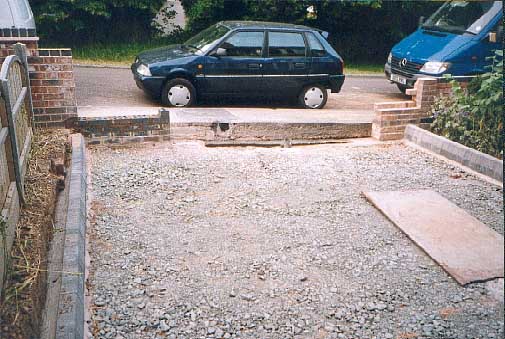
At last the council are dropping the curb. After months of waiting they actually did the work
that I paid for many months before. The tube sticking up is the water meter and stop cock.
The water authority were very good and efficient.
-----------------------------------------------------------------
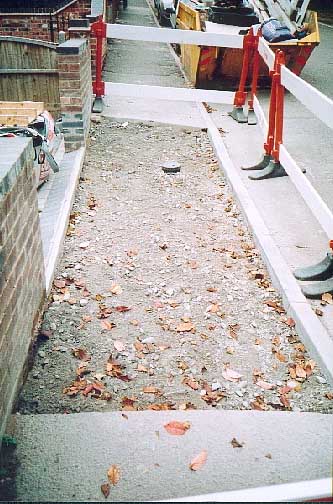
The pavement ready for tarmacing. The job they did was poor but I was just happy to have a drive
I could use.
-----------------------------------------------------------------
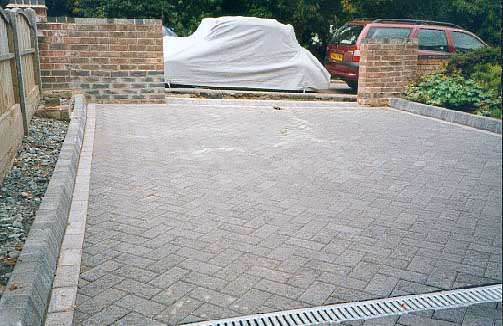
The finished drive. (ignore the date in the photo). The main part of the drive is flat (side to side)
but slopes gently to the drain. This means I can jack a car up on it without it falling sideways off the jack.
-----------------------------------------------------------------
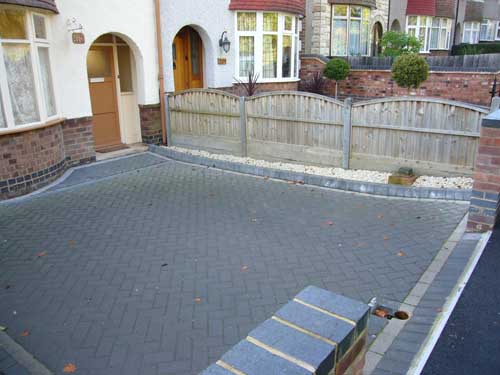
I added stone chippings down the side by the fence. The drive slopes up to the pavement.
It is possible to get 2 cars on the drive.
-----------------------------------------------------------------
This is the wall I build. My first attempt at laying bricks.
-----------------------------------------------------------------
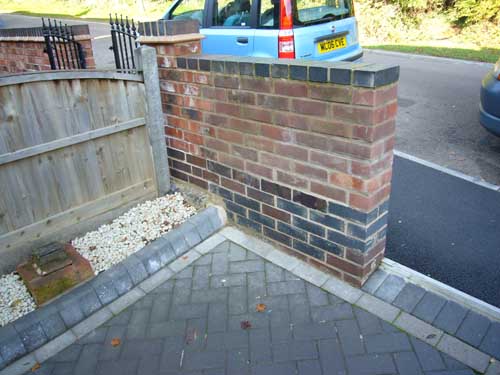
The wall from the other side. In the future I may dig out more in this corner and make a little
flat storage area for my dustbin.