The engine management wiring loom has been causing problems. I have been struggling to get all the wire I require. I need many different sizes and colours in only short lengths. Eventually I found the company who makes the looms for Weber Alpha and they said they could supply the wire but as it was only a small order when they are used to huge orders from the likes of JCB I had to wait weeks. When the wire arrived they had supplied a few substitute sizes (larger than I specified) to cover the colours they did not have, so I then had to find another supplier to get the correct size.
I have also been trying to find the correct crimping tool for the terminals on the connectors. After much research I found the Amp (Amp are the manufactures) part number of the terminals and this leads the the crimping tool. I know have to find the price of the tool.
I am now making the engine loom.
The following pictures show the work I did while waiting for the wire. Fortunatly I had many jobs saved for times such as this.

The RAC competition rules state that the oil system must have a 1 litre
capacity
catch tank. It is possible to buy catch cans but they are around the £60
mark, so I
made my own. The blue alloy bottle is an outdoor drink bottle and I bonded
on a
pipe fitting. The bottle is 1.5 litre capacity and cost £10..
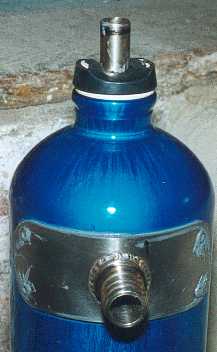
Detail of the stainless fitting riveted and bonded to the bottle. The top
was modified
so I can fit a small K&N air filter.
I made a steel bracket to mount the bottle. The mount will be lined with
rubber and
the bottle held in with cable ties or a worm drive clip.

I bought two bottles and used the other for a windscreen washer bottle.
Again I bonded on a stainless fitting.

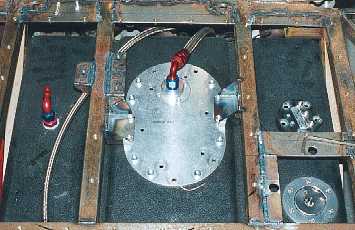
This is the floor at the front of the car. It will be bolted on with countersunk
bolts.
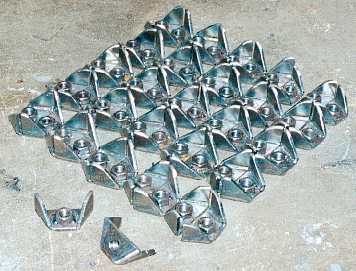
These are the brackets to bolt the main floor to the chassis. It took quite
some time to make over 50 of these and then weld them onto the chassis.
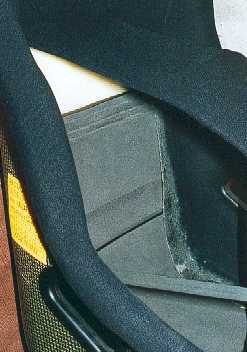
The seat I bought was the closest fitting seat in the shop (there were over
20 to choose from)
but was still not a perfect fit. The main problem was the area around the
small of the back,
it required more padding. So I built it up with outdoor camping mat. While
I had the seat apart
I also pulled the thin soft foam out from the base and put in a piece of
camping matt. This is harder,
but more comfortable and also gives more feeling.

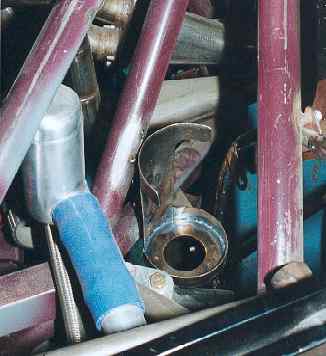
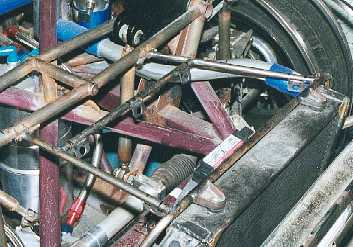
This picture shows the remote adjusting knob for the balance bar.
Even though it is mounted low it is still very easy to reach.
This is the neat (and expensive) 90 degree adapter for the remote balance
bar adjuster.
I made two mounts to hold the petrol tank top plate. In my Kitten the tank
has
dropped in the middle (due to heat), these mounts will prevent that and
provide an earth
for the tank.
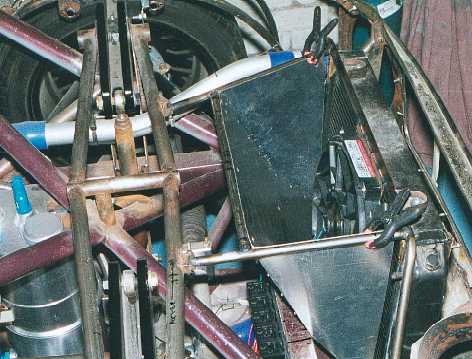
Many people duct air to their radiators but then leave it to find its own
way,
but it is more important to duct the rear of the radiator. This is my duct.
There will be a top part to it to take air out of the bonnet. My ducting
is designed
with an inlet smaller in area than the radiator, it then expands to the
size of the radiator
(so the air will travel slower through the core and have more time to absorb
heat).
The duct then narrows towards the exit to speed the air back up to outside
speed.
The ducting is held in with small quarter turn fasteners. I made the small
mountings
with holes in the middle to take clip on recepticles.

This is an example of all the small jobs that require work. When I had the
radiator
made the top breather is not at the top (the horizontal pipe) so I modified
the filler
by brazing in a brass tube. It is now at the top of the radiator.

The exhaust expansion chamber is in the sill and will generate a lot of
heat and
as the passenger seat is close I required very good insulation. Race car
suppliers
sell insulation but I thought it very expensive, so I contacted industrial
companies that
sell insulation and managed to source comparable products. The stand off
box on the sill panel
will house 20mm of insulation designed for furnaces and ovens.

This is the insulation I will use. The black is graphite glass matt (good
for up to 600 degree C) and the white is the main insulation. This will
go behind a shiney piece of stainless steel. So I will have the expansion
chamber, an air gap, the stainless, the black matt and then the white matt.
I will be interested to see how how this works.
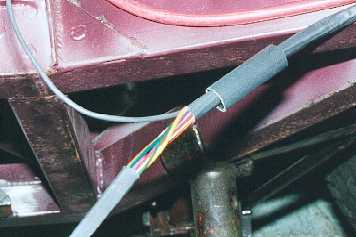
This shows how I have brought a cable out of the main loom (a breakout)
on the general car wiring.
The heat shrink is fed over the wires, but bear in mind that this breakout
is near the front of
the car and this is the main loom to the rear (trafficators, brake and side
lights etc) so there
is a lot of long lengths of wire to feed through each piece of heat shrink.
The heat shrink is slid up to the joint.

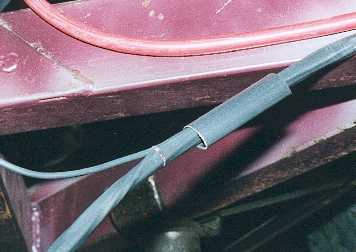
The short length od adhesive lined heat shrink is slid over the breakout
and shrunk into place.
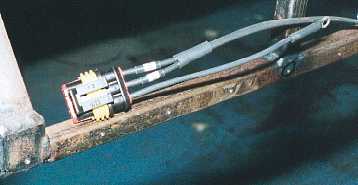
This is a waterproof connector for under the rear wings. It means the rear
lights can be
disconnected quickly and easily if I have to remove a rear wing.

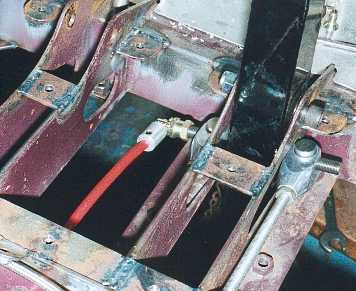
This is my sealed gel battery. It is small and powerful. It is mounted as
low as I can get it
(on the floor) at the rear of the car. The battery cable is large 300 Amp
rated. This means the car
should always start even. The cable is heavier than lower rated items but
the cable will run along
the floor so the weight will be low.