There are 7 images on this page.
Metal Working Tips. (Avoiding stress raisers.)
Never scribe a line onto sheet metal unless it is going to be cut. The scribed
line will act as a stress raiser and cause failure due to fatigue.
When cutting to an inside corner on sheet metal always drill a hole and cut
to the hole. This again avoids a stress raiser in the corner.
When bending metal always bend to form a large radius as possible. Too sharp a bend and the material on the outside of the bend is stretched.
Never leave sharp corners on metal parts. (Internal and external). Round everything off, it not only looks good but will save your fingers when handling the part.
Do not quench or rapidly cool welds or heated metal. Allow it to cool naturally and slowly.
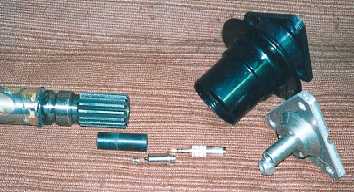
I require a couple of
buttons on the steering wheel and as I am using a quick release boss connecting
the wires is not simple. I did not want to have to manually unplug and plug
and connector each time I removed or replaced the wheel. So I used a stereo
jack plug down the centre of the column.
-----------------------------------------------------------
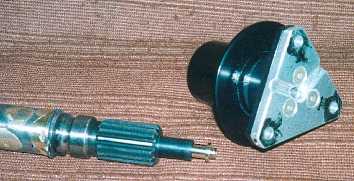
To get the jack plug
in the column and boss spacers are required to hold each side of the plug
in position. The grooves in the aluminium are to allow the wires to pass behind
the steering wheel. The wires in the column will exit through a hole and then
go to the column support bracket.
-----------------------------------------------------------
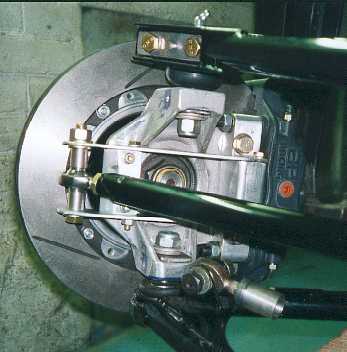
While I was building
the steering column I had to build up all the suspension and steering. This
was the first time that it had all been together, and it was a relief that
all my drawings were correct and it went together.
------------------------------------------------------------
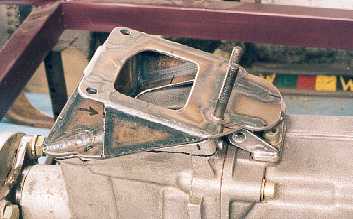
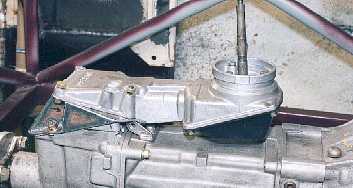
As the engine and gearbox
are set so far back the standard gearstick position will be behind the seat,
not the perfect position. I want the gearstick close to the steering wheel,
so this means moving the stick forwards. The above picture shows an adapter
that I made so I could use the Abarth extension pointing backwards.
------------------------------------------------------------
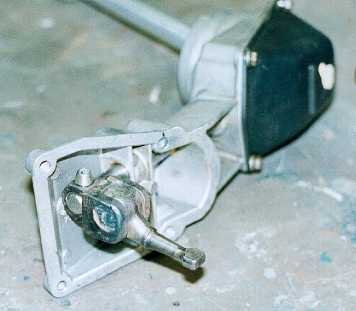
The gearstick in position.
The adapter took lots of designing especially deciding how to bolt everything
together. There is over 5 days work in getting the adapter designed and made.
---------------------------------------------------------
As the extension is now
mounted higher than standard a longer selector is required. I was originally
going to make a new one but I had difficulty finding the correct steel. It
would also had to have been heat treated. So I made a small extension piece
which used the original selector. The extension piece is very large so hopefully
it will not fatigue.
-------------------------------------------------------
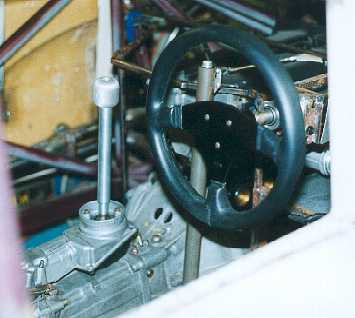
The gearstick is designed
to be close to the steering wheel. The longer selector means the movement
of the stick side to side is shorter but backwards and forwards is the same.
--------------------------------------------------------