Update 11th August 2003
The wiring and plumbing is now in the car attached to the chassis. I have just got a few details to finalise (routing of the wires and pipes), for these I require the engine in the car.
A lot of the panels are attached to the chassis with silicon sealer and the expensive rivets. The rivet are worth every penny, they pull the panels together and form a large surface area on the back side. The back side looks as good as the front side.
My bonnet, boot and front panel are now done in carbon. They were not cheap but are very good. In fact they were so much that I can not afford to have the wings done so I will be doing those myself. I have borrowed a few books from the library to learn about making moulds etc.
I am now fitting the suspension to the car. This means it will be rolling so I will be able to get the engine in.
All the ducting is finished around the radiator.
If you follow the world rally championship you will notice that the new Ford Focus is doing very well. This is because it is hailed as a radical design, taking touring car practices and putting them into a rally car (done that with my car). Part of the design process was to get all the weight in the car very low (done that with my car). The wiper motor is mounted low with a linkage to the wipers (done that on my car), the driver sits very low and the dash is lowered so it is below the level of the bottom of the windscreen (done that on my car), there is ducting to and from the radiator (done that), the pedals are floor mounted (done that) etc etc. The unfortunate thing is that I had all these ideas before the Focus was revealed but my car is not finished yet so people may think I am copying their ideas. However for a clubmans rally car mine should be very radical.

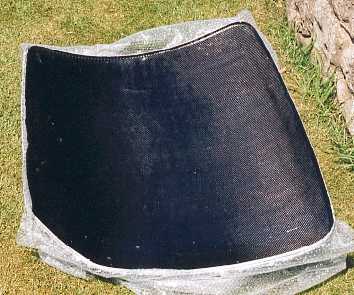
The finished rear wing ready for a mould to be made.

These wings are very modified and took lots of work to get them as they
are now. I wanted them to look standard and I think that has been achieved.
The arch is higher, a different radius and further back. The profile of the
wing above the arch is modified (a hump) to give more tyre clearance. Robin
with his ace filling skills has blended the new hump into the rest of the
wing.
This is the carbon boot sat in its mould.

The carbon boot and front panel. The boot and bonnet has gel
coat, tissue, carbon, chopped strand matt and carbon. This gives
a good compromise of cost, strength and finish. The panels were a lot
of money compared to other items on the car but they are good. However they
are
not perfect (very few items I have bought are) In a few places the carbon
is not pushed
into the corners and there are voids.

This is a Dzus bracket for the bonnet on the A panel. The bonnet will be held
on with
hinges and Dzus fasteners. I do not like bonnet pins as the are not
aerodynamic, Dzus are, plus I prefer to attach the bonnet in lots of places
This bracket has a washer on it, this is acting as a spacer.
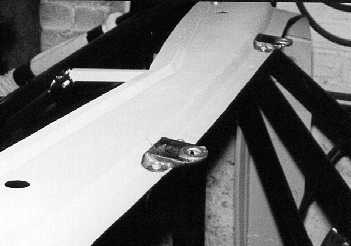
More Dzus brackets at the back of the bonnet.

Another bracket on the front cross member.

This shows the ducting on the back side on the radiator exiting the
bonnet.
This picture shows the ducting under the radiator. It also shows how low the
radiator is.
This duct Dzus into position.

This shows the Dzus brackets for the duct.

This is a panel between the inner wing / arch and the door pillar.
Just another job that required doing.

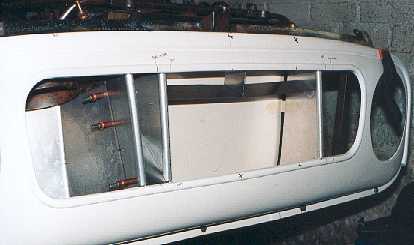
The front panel is moulded in one complete with all the bolt on chrome
trim that is normally on the front of a Minor (hockey sticks etc). So to attach
the panel to the car I had to bond in stainless studs.
The front panel could then be fitted to the car and the ducting made
for the front of the radiator. The opening is actually 50% the area
of the radiator core. The duct then expands so slowing down the air so
it has more time to absorb the heat from the core. The ducting on the rear
of the radiator then narrows to speed up the air so it leaves the car
at
air speed. This design of duct provides the greatest cooling for the least
drag.
It is difficult to see in this picture but there is a vane at the top of this
duct to bend the air
to the top of the rad. Air can only follow a 15 degree change in wall angle
without becoming
detached. The entrance to the duct also has radiused sides to provide good
air flow
into the duct especially if the car is not going straight. Nothing is simple
in the car building game!

This shows little towers to mount the duct.
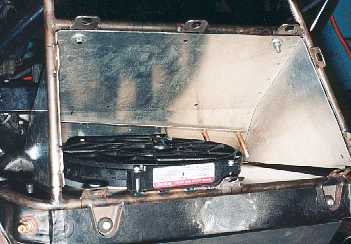
This is ducting on the backside of the radiator with the fan in position.
If you look carefully there is a rain drain channel held in with Clecos. As
the duct is open to the weather rain will come in. This channel drains the
water away. As I said I before nothing is simple and you have to try to think
of
everything.

On each side of the radiator there is space in the front panel opening. I
have used this to provide more air collectors. These can be used for brake
cooling
engine component cooling etc.
This is the front side of the air collector. This took a day to design and
make.

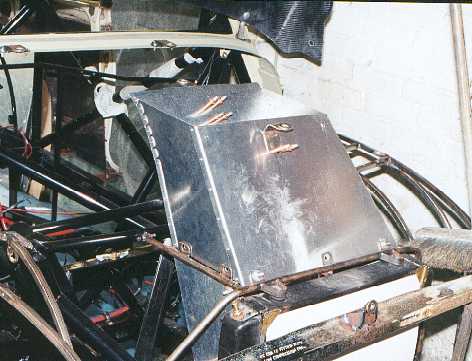
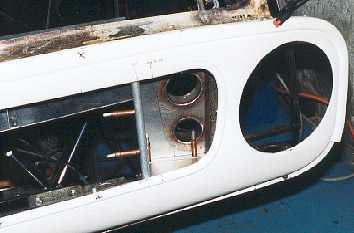
This shows the engine air collector (big) and another collector (small).

The head lights are high powered / quality spot lights. They mount on a
big adjustable bolt at the bottom. I have mounted them on a plate
which then bolts onto the chassis. This means I can remove the light from
the car with out upsetting the head light alignment. (The big adjustable bolt
allows me to aim the beam)
On the right is the duct for the K&N air filter.

Making the Dzus brackets for the boot was initially not easy. They have to
match the
angle and profile of the boot. So I made this template that matched
the boot lid.

Then I could make the Dzus bracket to suit the template. The gap between the
bracket and template is for the thickness of the boot.

The finished Dzus braket. These are bolt on so I can cad plate them
and if required adjust them so the boot fits perfectly. The boot will
have hinges
with removable pins so it will lift off.
I tend to worry, in fact I worry a lot about the car being unreliable.
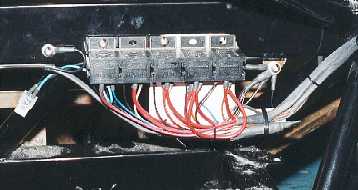
These are the relays at the front of the car for the head lights and horn.
There is an aluminium panel behind the relays and wires which I have
cable tied the wires to. This means the wires can not wobble and move
in the relay holders so will not fracture.