Update 11th August 2003
Only a few pictures this time as I used the film up in the camera on other items.
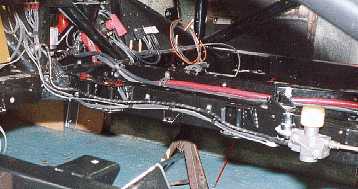
The engine has been in the car to finalise all the pipe and wiring runs.
These have been fixed and the engine is ready to go back in for good. Unfortunately
my engine mounts which I had powder coated at different place to the chassis
have started to rust. So the company that did my chassis are sorting them.
Hopefully I will get them back next week.
I made anti roll bars from the car from Minor torsion bars. I have lots
of these and they are spring steel so will not yield. I had lots of work
to do to make them fit though. But I now have adjustable bars front and
rear. The amount of anti roll bar I will require is an educated guess.
The petrol tank is fitted and all the associated wiring and plumbing is complete.
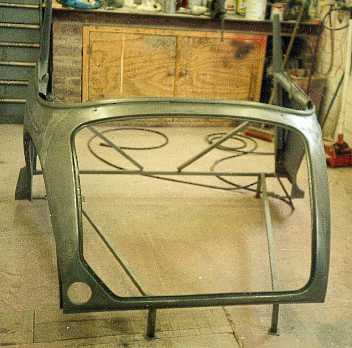
Robin has started my body work and I should get the front scuttle section
in a couple of weeks.
I am currently making attachments to align the suspension. These will be
bolt on bars so I can construct an accurate rectangle around the car (referenced
to the centre line) with string. Then it is easy to measure toe.
I own lots of books and many of these I have owned for over ten years. When
I bought each book I read it, but I find it very useful to re read my books
every so often. As my knowledge increases I seem to get more out of the
books each time and learn something new. All of Carroll Smiths books are
still my favourite.
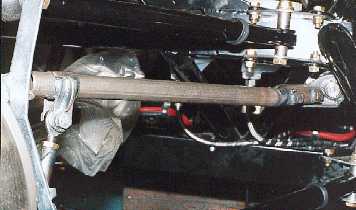
Most race cars use all flexy braided hose for the brake lines.
I like to use as much hard line (copper nickel pipe) as possible
because it gives a firmer pedal. The hard lines to not expand
whereas the flexy braided ones do very slightly. This is the rear
brake line.
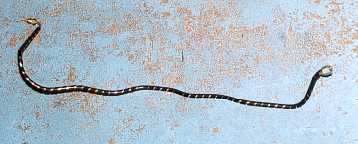
The brake pipe is wrapped in spiral plastic to protect it.
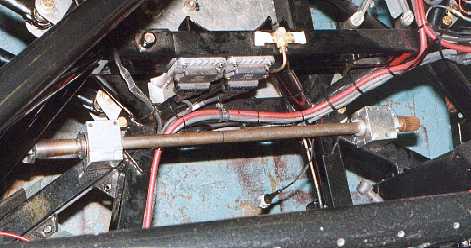
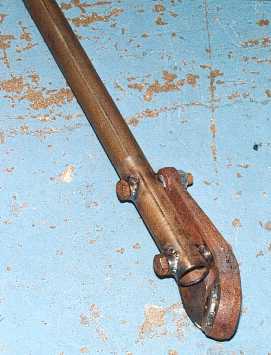
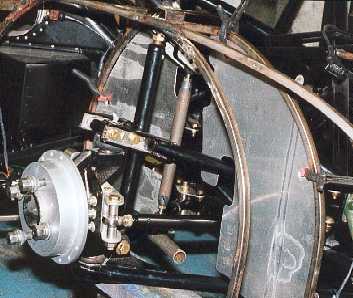
This is the front anti roll bar. On the right hand side is the original Morris
Minor
spline. The bar is mounted in split alloy blocks with dry lube plastic bearings.
The internal diameter of the plastic bearings is large so I can run different
sized
bars. Spacer tubes are fitted to the Minor torsion bar to space it up.
A bolt on alloy clamp stops the bar sliding.
I had to shorten the torsion bar. On the cut down end I have
made a sleeve that slides on to take the arm. This will be held on with
high strength retainer.
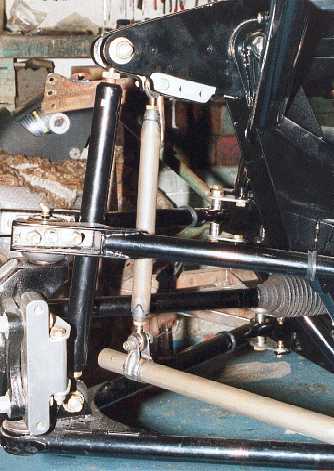
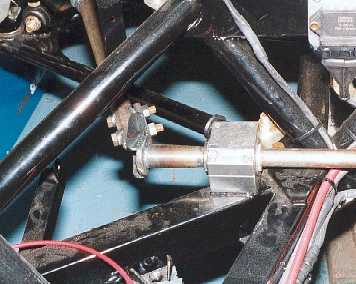
The front anti roll bar is mounted low on the chassis rails
and is operated via a drop link from the rocker. A
clamp on slide bracket attaches the drop link to the tubular arm.
By sliding the drop link along the arm the roll resistance is altered.
On the rocker is 3 different attachment holes. These will give a large change
in roll resistance such as a wet weather setting.
The anti roll bars took days to make due to the clamps, drop links, spacers
etc.
This is the modified Minor arm that slots onto the torsion bar end.
I bolted on the tubular arm as I was worried about welding it to the cast
arm.

These are the discs I welded onto the ends of the cast Minor splined arms
so I could bolt the arm onto the torsion bar. (I drilled and tapped a hole
in the end
of the torsion bar, a very difficult job). First I draw a circle, then cut
the corners
off and finally file to shape. There are 3 discs because my original plan
was
to use a standard width anti roll bar.
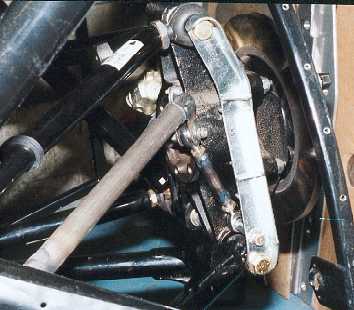
This is the rear anti roll bar at the upright. The suspension is on full bump
which is why some of the angles of the links look funny.
This is the rear anti roll bar looking towards the inside of the car.
The inner wings required a bit of trimming to clear the anti roll bar.

This shows the rear suspension with the springs fitted. It was good to see
the
suspension bouncing for the first time. These are cheap springs designed to
a free
length and a rate. Once I know approximately what rates I require I will buy
springs
that are designed to my installed height. This means I can change springs
without having to reset ride height. and corner weights.
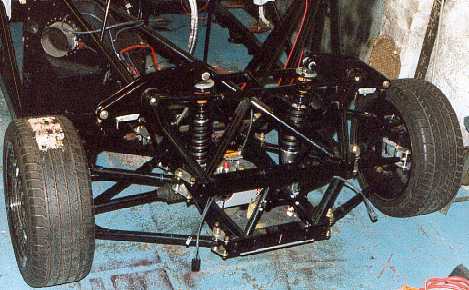
The front springs in place.
THE FOLLOWING WERE ADDED 11TH SEPTEMBER
The rear bodywork was sand blasted, for a very reasonable
price. Robin and I then sanded it, and used Scotch Brite (trade name).
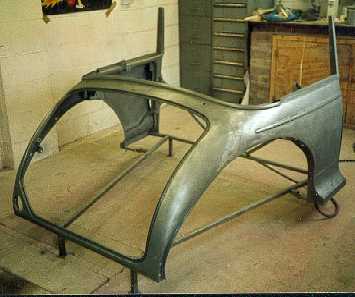
You can see the original lead loading at the top of the wheel arch.
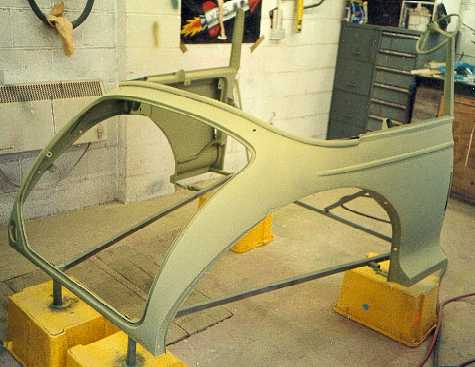
Robin sprayed the bare metal with 2K etch primer. This chemically binds with the metal.