There are 10 images on this page.
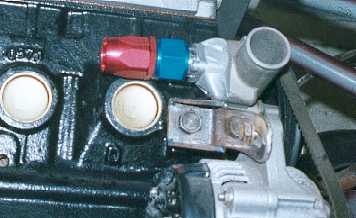
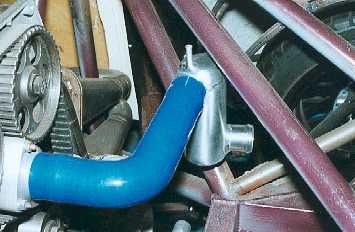
On the standard Fiat
the heater pipe out of the water pump is a steel pipe which then goes into
a rubber pipe to the heater. I have made an adapter so I use dash 12 racing
hose and connectors. This means the hose is very easy and quick to remove
and will not leak.
------------------------------------------------------------
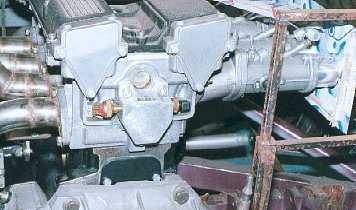
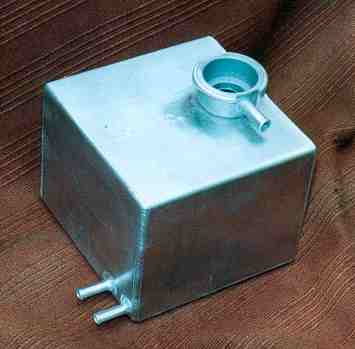
For the engine management
system and dash board I require sensors to monitor the water temperature.
I also need an outlet for the water to the heater. So I had to make a housing
from aluminium. This was made from a solid block.
------------------------------------------------------------
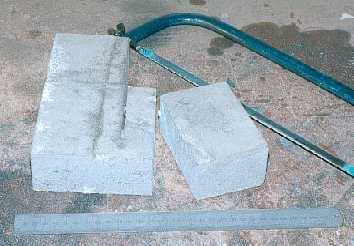
I had a block of cast
aluminium and I cut a piece off by hand. This sounds like hard work but it
only took 10 minutes.
------------------------------------------------------------
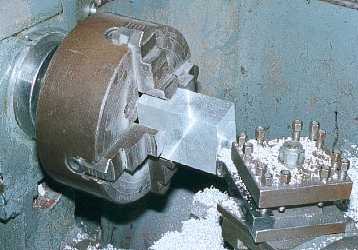
The block is faced to
size in the 4 jaw chuck in the lathe.
-------------------------------------------------------------
To get the correct shape
inside I first bored a large hole and then offset the block and bored another
hole to give an oval. Then I went in to the corners with a drill to make the
small holes in the corners. The surplus metal inside was then removed with
the die grinder.
---------------------------------------------------------
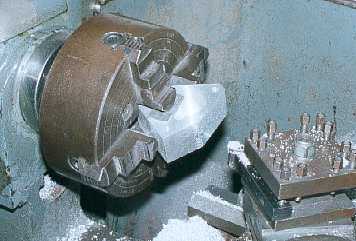
The edges were cut off
the block (previous picture) and the surfaces faced in the lathe. On these
face I will bolt a fitting to take the dash 12 screw on fitting. The block
is not really held well in this picture so I had to take it easy on the size
of cuts.
------------------------------------------------------------
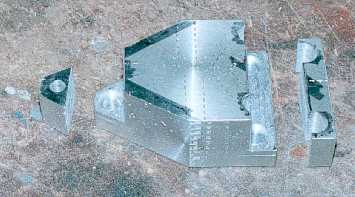
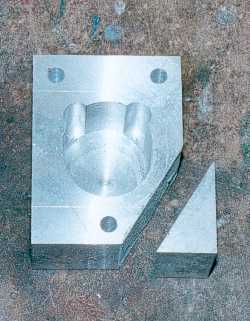
I could have left the
block large but I thought I would remove the surplus metal to reduce weight.
First I spot faced the bolt holes then cut away the ends. The rest of the
work was done with a die grinder, files and sanding pad
-------------------------------------------------------------
A swirl pot is fitted.
This circulates the water and helps remove any air or steam. It also enables
me to neatly drop the height of the water pipe.
------------------------------------------------------------
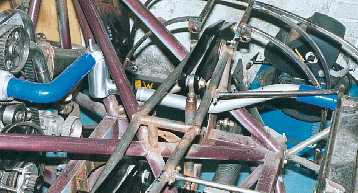
The alloy water pipe
connects the swirl pot to the radiator. It runs under the rocker.
-------------------------------------------------------------
------------------------------------------------------