There are 9 images on this page.
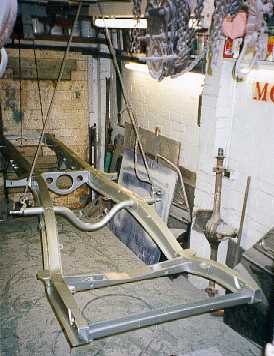
The chassis sprayed by
hanging it from the ceiling. Again much preparation, priming, basing and polishing
was done to obtain a good finish.
---------------------------------------------------------
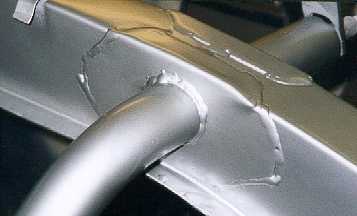
The chassis in detail
showing the quality of finish. The aim was not to obtain a perfect finish,
but as it would have been done in the factory. Hence the welds left as they
would have been.
-----------------------------------------------------------
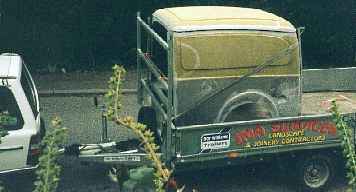
The van back required
repairs and was blasted. JMA Services again supplied the trailer.
----------------------------------------------------------
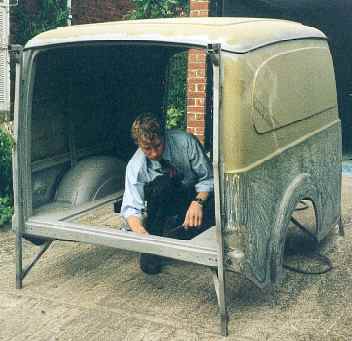
The back was only blasted
in the corners and edges (the difficult to get at areas), if the large flat
panels had been done there was a chance that they would distort.
----------------------------------------------------------
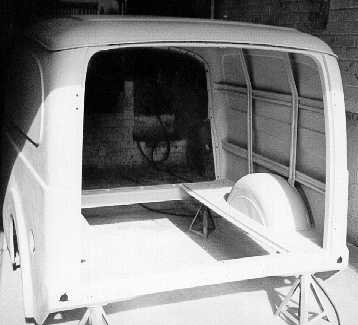
The van back also received
a lot of preparation before priming. (This picture is in black and white.)
--------------------------------------------------------
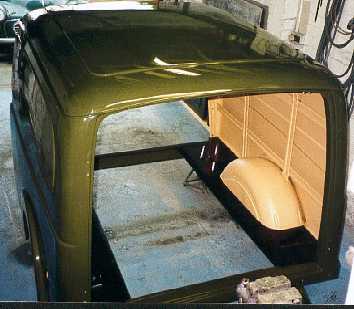
The van back painted.
The correct masking and painting order was important when dealing with the
three different colours.
-----------------------------------------------------------
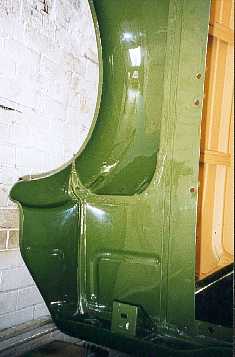
As with the rest of the
vehicle the underneath is as good as the top.
----------------------------------------------------------
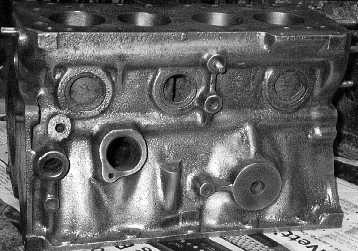
The engine block was
rebored and the outside cleaned to bare metal. (This picture is in black and
white.)
----------------------------------------------------------
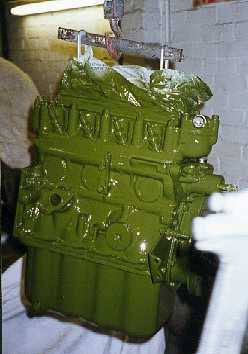
The complete engine was sprayed in the correct green as it would have been done in the factory.