There are 10 images on this page
When you are trying to solve problems or design solutions etc. try not to restrict your thinking. Look beyond the obvious. For example during my degree we were all given the task of designing a reverse gear for a boat. Everybody else designed only a reverse gear box to reverse the prop direction. I looked at the problem on a wider scale and questioned why we required to make the boat go backwards. This then made me think of other solutions to the problem. For example one idea was for a circular boat with props on each side and you selected the one you wanted. It would go backwards and forwards, but did not have a reverse gear. You may say that a round boat may not work, true if it was a high speed cruiser but for manoeuvrability at slow speed it may work. A bit of different thinking can often come up with new solutions which are not immediately obvious.
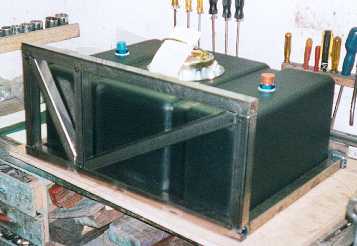
The petrol tank is
a plastic 36 litre unit. It will be mounted behind the diff and fit up
into the chassis from below. A bolt in aluminium plate will hold it into
place.
------------------------------------------------------------
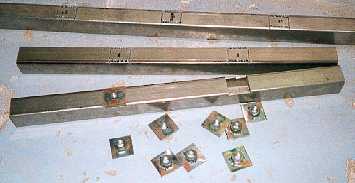
So I can bolt the
aluminium plate to the mounting I require captives. Nuts are welded to
pieces of plate and these are then welded into cut outs in the box section.
-----------------------------------------------------
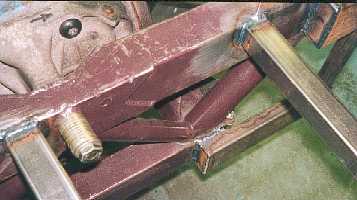
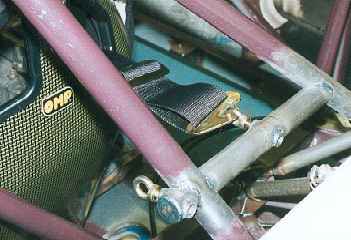
The mounting has
to kick out to clear the wishbone mounting plates. ( The bottom mount
in the picture)
------------------------------------------------------------
The petrol tank mounting
is a substantial structure but it has to support the weight of the full
petrol tank, the oil tank, battery and rear body. Plus in the event of
a rear impact it must offer some protection to the tank.
-------------------------------------------------------------
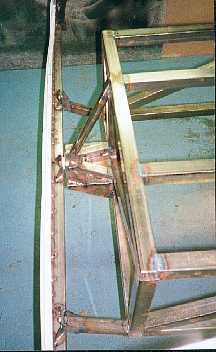

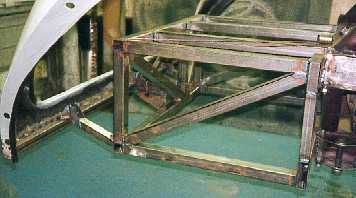
The rear body mounts
bolt onto the rear crossmember under the boot lip. The triangulation in
the middle is a jacking point. On most cars you have to struggle underneath
trying to jack a vehicle and often it will slip off. I plan to have an
easy accessible ball to jack on.
-----------------------------------------------------------
The finished petrol
tank mounting, with jacking point, towing point and rear body mounts.
----------------------------------------------------------
-------------------------------------------------------
-----------------------------------------------------------

-----------------------------------------------------------
-----------------------------------------------------------