There are 10 images on this page
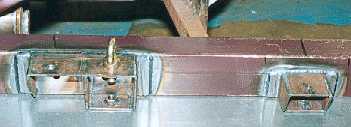
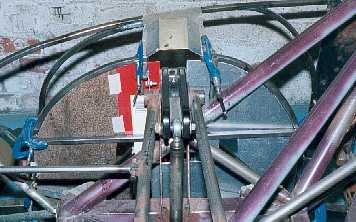
The seat mounts on the
outside of the passenger side were easier due to there being more room. Again
the brackets incorporate floor mounts and have spreader plates on the chassis.
------------------------------------------------------------
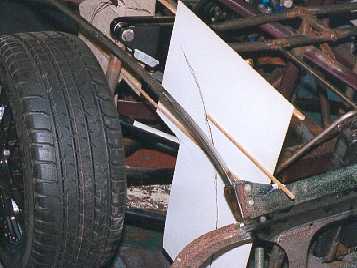
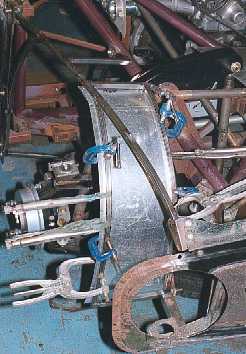
Time for the inner wings.
The plan is to build a framework in 1/2" box section and skim it with
aluminium sheet. So I could design the framework and know how large to make
it to clear the wheel under all conditions of lock and travel I used a piece
of card and marked the limits of the tyre.
-----------------------------------------------------
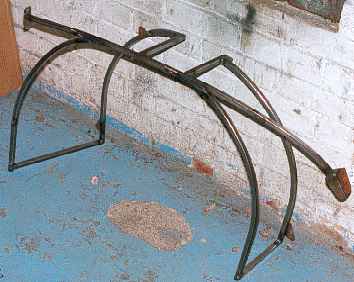
The inner framework is
designed to be removable from the car. The box section is bent gently in the
vice by hand to get a smooth curve.
------------------------------------------------------------
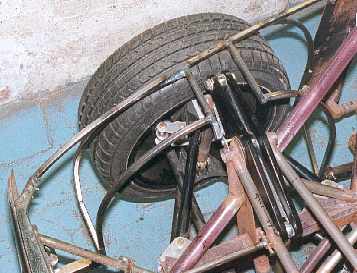
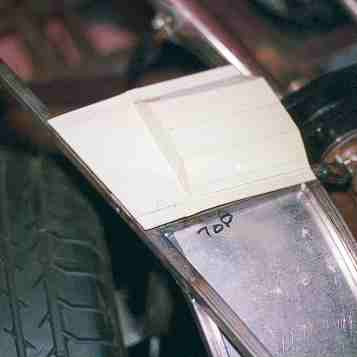
TheThis is with the framework
in the car.
-------------------------------------------------------------
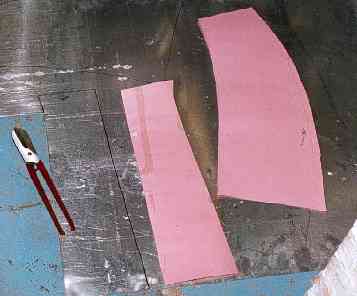
To skin the framework
I made rough templates. On my Reliant Kitten I spent ages making accurate
templates but I have now realised there is another way.
-----------------------------------------------------------
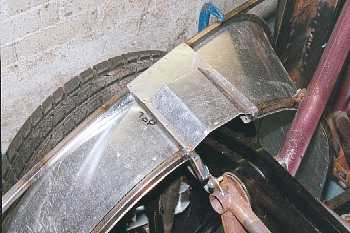
The alloy is clamped
to the framework and holes drilled for the blind riviets. A few rivets are
put in to hold everything in place. Then it is a matter of scribing around
the framework and then trimming the alloy panel to suit.
----------------------------------------------------------

-------------------------------------------------------
-----------------------------------------------------------
-----------------------------------------------------------
--------------------------------------------------------