There are 10 images on this page
The build of the car is now dragging on. It has been in the garage nearly three years and at times it is difficult to get motivated. But I have to keep going and get it finished. I think everybody goes through this stage when building a car.
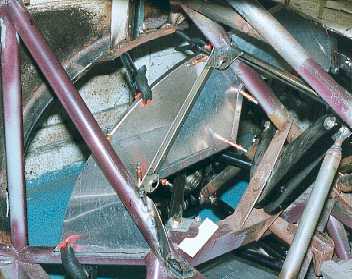
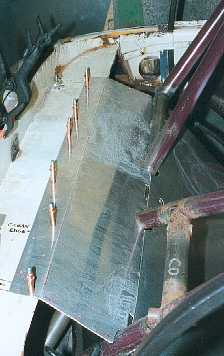
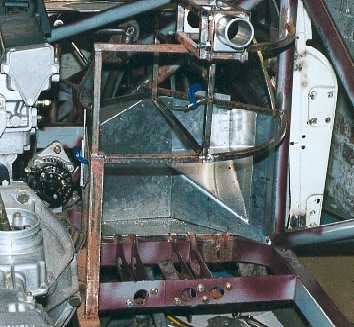
This picture shows a
small storage area.
------------------------------------------------------------
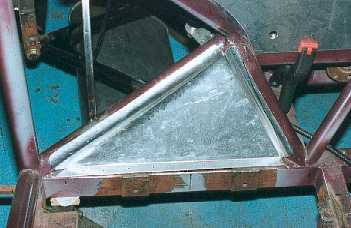
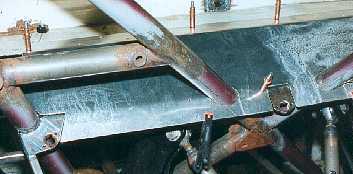
This panel has neat curved
edges so it fits into the tubes.
-----------------------------------------------------
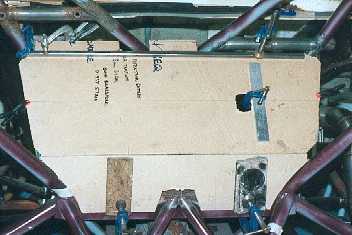
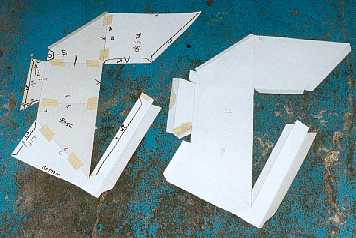
I require a removable
panel behind the seats so I can access the dampers and suspension. This is
the template. I clamped straight edges behind the template and cut holes in
the card so I could clamp the card flat. This ensures the template is flat.
------------------------------------------------------------
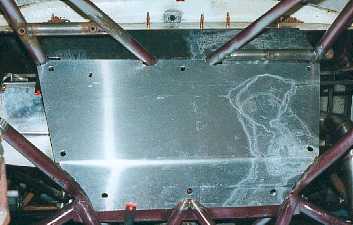
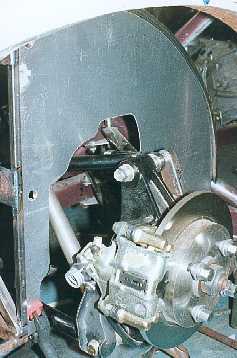
This is the finished
panel in aluminium. The holes are for Dzus fasteners. The aluminium is 1.5mm
thick.
-------------------------------------------------------------
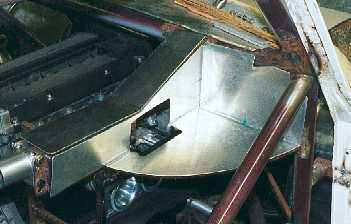
This panel fills in the
space between the rear parcel shelf and the rear panel.
-----------------------------------------------------------
It also incorporates
a lip for the rear panel to seal against. Note how it is neatly cut to fit
around the Dzus backing plates.
----------------------------------------------------------
-------------------------------------------------------
-----------------------------------------------------------
-----------------------------------------------------------
-----------------------------------------------------------