There are 10 images on this page

It is important that
the floppy cardboard templates are held flat other wise the slots for the
wishbones will be in the wrong place.
------------------------------------------------------------
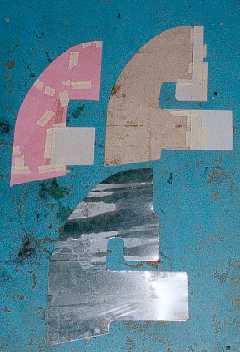
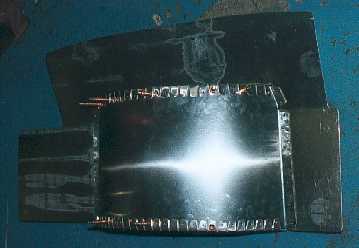
This picture shows the
two stages of the templates. I used a template to make a template. The second
template is in thicker card.
-----------------------------------------------------
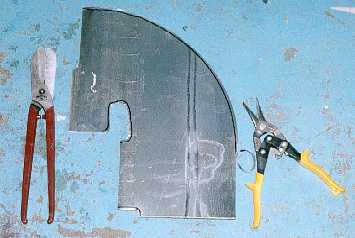
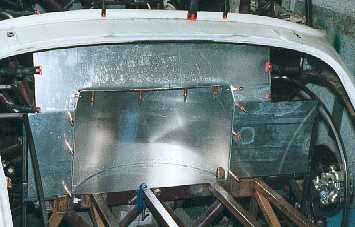
To cut the panel I first
cut the basic shape with the big snips, then to within 5 mm with the yellow
handled Wiss snips and finally to the correct shape with the Wiss snips. This
method keeps the panel flat.
------------------------------------------------------------
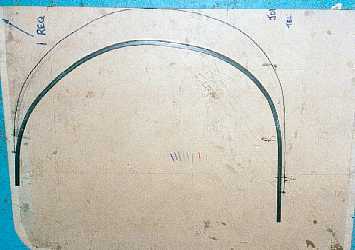
To make a bent tube for
the rear inner wing I used a piece of hardboard and drew on the profile of
the arch. The steel was bent by hand in the vice.
-------------------------------------------------------------
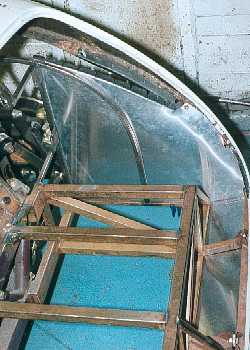
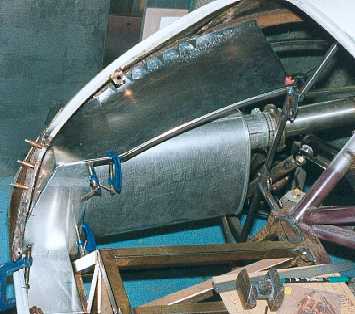
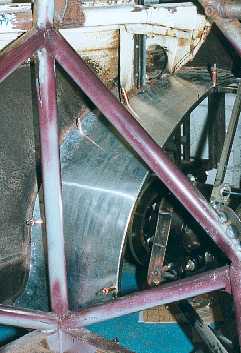
The frame work in position.
The aluminium inner wing and rear floor in position.
-----------------------------------------------------------
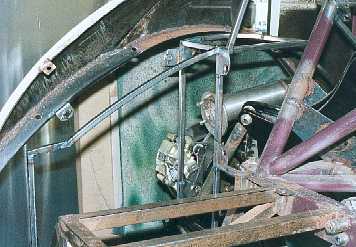
The near side has different
requirements due to the silencer. Again a framework is made. This will be
skinned with aluminium.
----------------------------------------------------------
-------------------------------------------------------
-----------------------------------------------------------
-----------------------------------------------------------
--------------------------------------------------------