There are 10 images on this page.

I did not like the yellow
so I purchased some Brooklands green (the same as my first Minor) and let
Robin gun that on. The whole paint job took 4 days.
-------------------------------------------------------------
The rear suspension is
adjustable and took some time to set up. The axle has to be positioned central
in the car, square to the centre line and the pinion has to be angled correctly.
-------------------------------------------------------------
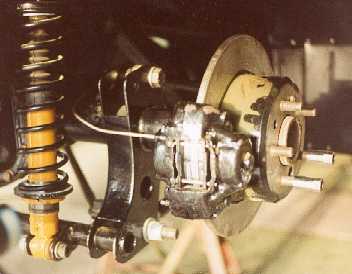
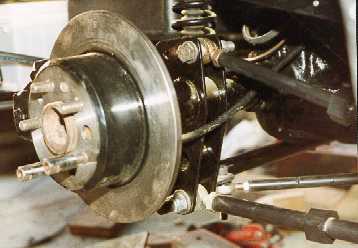
The Volvo rear axle.
The coilovers are inset because I intend to fit wheelie bars and I reckon
these need to be positioned as far apart as possible for good stability.
-------------------------------------------------------------
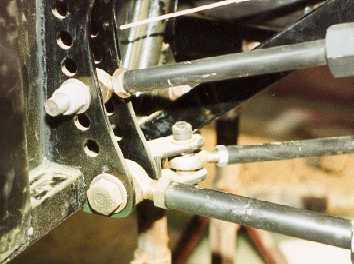
All the rear links are
spherically jointed. These were bought from the local industrial bearing supply
house. The links have right hand threads at one end and left hand at the other
end, this means the length of the link can be adjusted in situ.
-------------------------------------------------------------
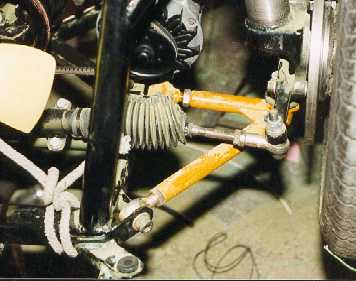
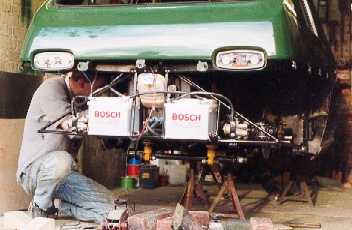
The front suspension
is based on Ford struts with tubular arms. The steering arms are spherically
jointed.
------------------------------------------------------------
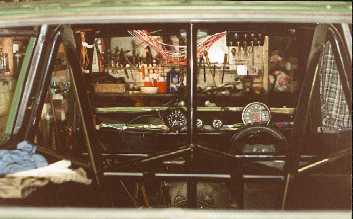
All the switch gear is
in an overhead panel. This keeps the dash area clean and the switches are
easy to reach overhead.
------------------------------------------------------------
Robin and Tony wired
the car in 2 days, building a loom from scratch. We went out and bought many
rolls of new wire from Lucas. The twin batteries will help traction and ensure
the car will start.
-------------------------------------------------------------
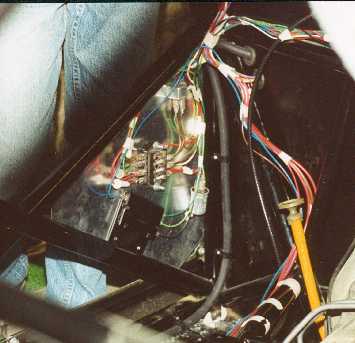
The other electrical
components required were positioned on a panel by the passengers feet. This
houses the fuse box, flasher can, relays and ignition resistor pack.
------------------------------------------------------------
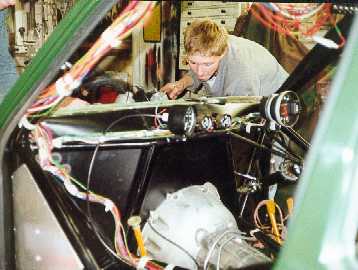
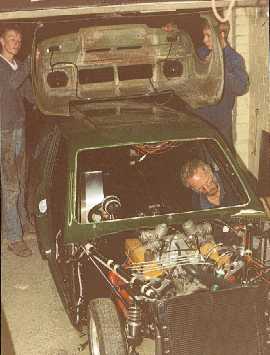
The wiring is done but it is not taped up. Here I am adding water to the engine so we can have a test run, to check everything works. We spent one hour trying to get the engine running on a Sunday evening . Eventually it fired at 9 pm. The exhaust consisted of only the manifolds so made quite a noise, so much that a lady from 3 houses away came running out to see what was going on. She was not happy !
Space is tight in the garage and we could only just lift the front over the car. Dad is taping the wiring loom. I wanted to test drive the car to check that everything was working.