There are 10 images on this page.
The van is used everyday as my main method of transport. I also compete in motor club navigational scatters and do quite well coming in the top 3. The rebuilt engine produces good power and driveability. Guy Croft (the Fiat twin cam tuner) drove it and was very impressed at how tractable the engine is. This I feel is harder to achieve than just all out power. The SU conversion is so good I decided to make a proper pattern and cast a manifold.
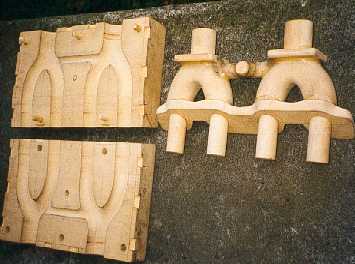
The pattern is complex
because of the need to make it hollow. The parts on the left are the core
block and are used to form the sand core. I made this pattern but leave the
casting to a local foundry.
-------------------------------------------------------------
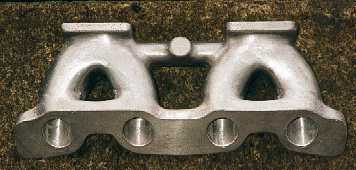
The finished manifold.
I also made a jig so I could skim the faces in a lathe. The manifold works
well and gave a small power increase over the fabricated item. Power is now
90 Bhp @ 6,000rpm at the wheels. There is probably more power at higher revs
because the engine pulls to 7,000rpm.
-------------------------------------------------------------
The van is now as good as it can get and in the navigational scatters my navigator Nigel Morris and I quite often win events beating much more modern high performance cars (Subaru Impressa`s, Mitsibushi Evo 5 etc) The only problem is damper fade after long bumpy sections. This is when the dampers get too hot and stop working. I can also fade the brakes if the roads are very demanding. (Even with Mintex M1144 pads.) We never lost it on a scatter even when pushing very hard.

Coming home from work
one night I had to brake while cornering hard and lost the back end. I went
into trees at about 70-80 mph. I was unhurt even though my glasses were thrown
off my head and the steering wheel bent by my bracing against it.
-------------------------------------------------------------
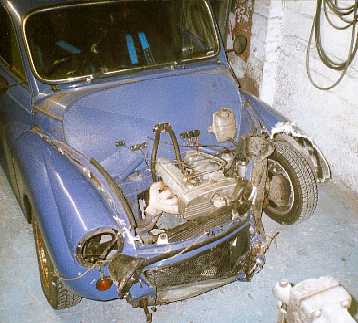
The front and rear corners
took the impact. Many modern cars would have been wrecked by this impact but
all my strengthening helped. The rear will jack out and new panels can be
fitted to the front. The worst thing was the fact that I had just fitted new
tyres to the front and they were ruined.
-------------------------------------------------------------
Six weeks later and the
van was fixed. I only had to buy 1 new panel, the rest came from stock.
-------------------------------------------------------------
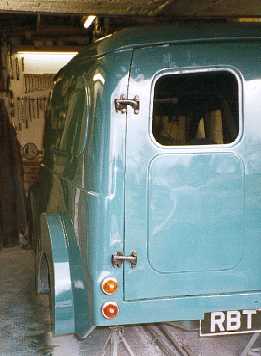
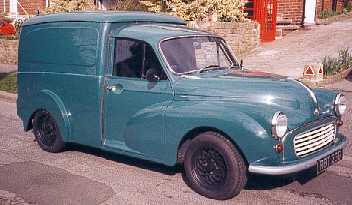
The colour was changed
because I had somebody interested in buying the van and I knew he wanted a
more standard colour. He was actually happy with how the van looked.
-------------------------------------------------------------
The buyer for the van wanted it badly and eventually I let him have it. He uses it everyday as his business vehicle and is very impressed in the way it handles. He quite often takes the long route home just so he can have a blast.
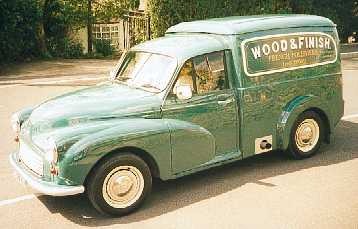
The new owner wanted
the van to look standard. He added painted aluminium discs to the alloy wheels
and fitted hub caps. The sign boards advertise his business.
--------------------------------------------------------------
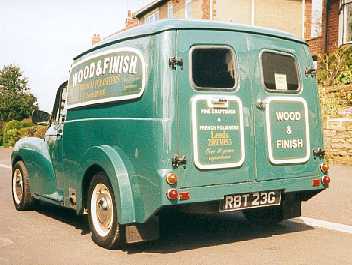
Rear mud flaps disguise
the large tyres from the rear. He also made the interior look more standard
by fitting original seats.
-------------------------------------------------------------
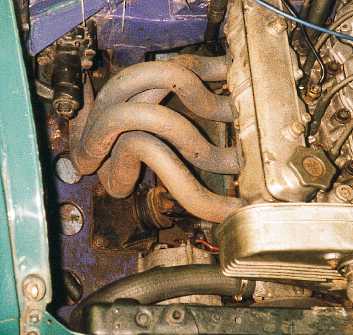
The new owner Mark had
a new exhaust manifold built. A subsequent rolling road tune failed to get
any more power. This shows that on this tune of engine the standard manifold
is adequate. (I did port the standard manifold quite extensively.)
------------------------------------------------------------